I have been mailing out so much vinyl, I thought it would be helpful to include on here hot to apply it. :)
So here are some basic and easy to follow instructions:
How to Apply Vinyl
Vinyl comes in 3 parts:
1. the backing paper (usually a thick white paper)
2. the vinyl
3. the transfer tape
How to Apply Vinyl:
1. Place your vinyl piece down on a table or other flat surface, transfer tape side down. Gently rub on the back of the backing paper with your hand or a credit card. (This is to get the vinyl to stick to the transfer tape when you are ready to separate the back from the vinyl.)
2. Carefully pull back a corner of the backing paper. The vinyl should stick to the transfer tape. I find that if i pull it at a diagonal angle, it comes off more easily. Go slow. If your letters are not coming off, simply place the backing paper back down & rub some more until your letters/image easily come off onto the transfer tape.
3. Now that you have removed the backing, and your letters/image is on only the transfer tape, you are ready to apply your vinyl. Choose the surface you want it to be applied on. Make sure the surface you are applying it to is clean, dry and free of dust. Vinyl adheres well to almost any smooth surface.
4. Hold the vinyl up to the surface where you want it and make sure it is straight before you put it down. Once it is down, it is almost impossible to remove it, reposition it, and not ruin it in the process. Do not rely on the transfer tape to be straight. Look at the letters/image to measure where you want it to go. Place your vinyl onto the surface you would like to apply it to vinyl side down. Gently rub on the back of the transfer tape with your hand or a credit card. Carefully and slowly peel the transfer tape slowly back (again I go at a diagonal angle). Your letters should stick to your chosen surface. If they do not, simply do this same step again.
5. Stand back and admire what you have done! Love my vinyl! :)
Create it. Go!
Robyn Power
power.rp@gmail.com
http://www.etsy.com/shop/CreateitGo
Tuesday, October 9, 2012
How to Apply Vinyl

Monday, October 1, 2012
So very thankful for...
I have had this one planned for awhile and just finally decided what I wanted to apply the vinyl to tonight.


Howdy Ags!

Saturday, September 22, 2012
Doorbell Broken
I absolutely LOVE LOVE this new sign I made hanging out my front door! It cracks me up wondering if anyone will really YELL this? Would I? Would you? lol I tell you what, if anyone (who knows me, and lives near me of course) comes over and actually does this, I'll make you this sign for free! Love it!

Tuesday, September 18, 2012
Under Construction

Project from the Past

Monday, September 17, 2012
Simple Natvity
So...my camera is still!!! missing, so I had to pull out the old little one to show you this today. I love this nativity! It is so simple! Maybe that's why I love it? :) Brown vinyl on painted and distressed block in a light aqua. What's not to like? :)

Friday, September 14, 2012
The culprit

Thursday, September 13, 2012
A Love of Rustic
I posted below one of the trunks with swirls that my husband and I made. Here is the other design he made.

Spacesavers
Who doesn't need space savers? I have always always wanted a mudroom. Well, I still don't have one, But I did get this!


Wednesday, September 12, 2012
A Love of Nativities
Nativities speak to me. I definitely have a love of them and love seeing various ones decorating my house. Last year I made this one and sold it at the craft fair. I still love it!!


Word Art
I know I showed these before, but I am doing more again!!!


Rustic Wood Trunk

Sunday, April 1, 2012
For fun
So, I have a baby in my arms and it's hard to type, but wanted to share a few projects from the past few months. Some are more recent, others from the craft fair. Some are papercrafting, others just crafting. :) So, pics, but not so many words. :)

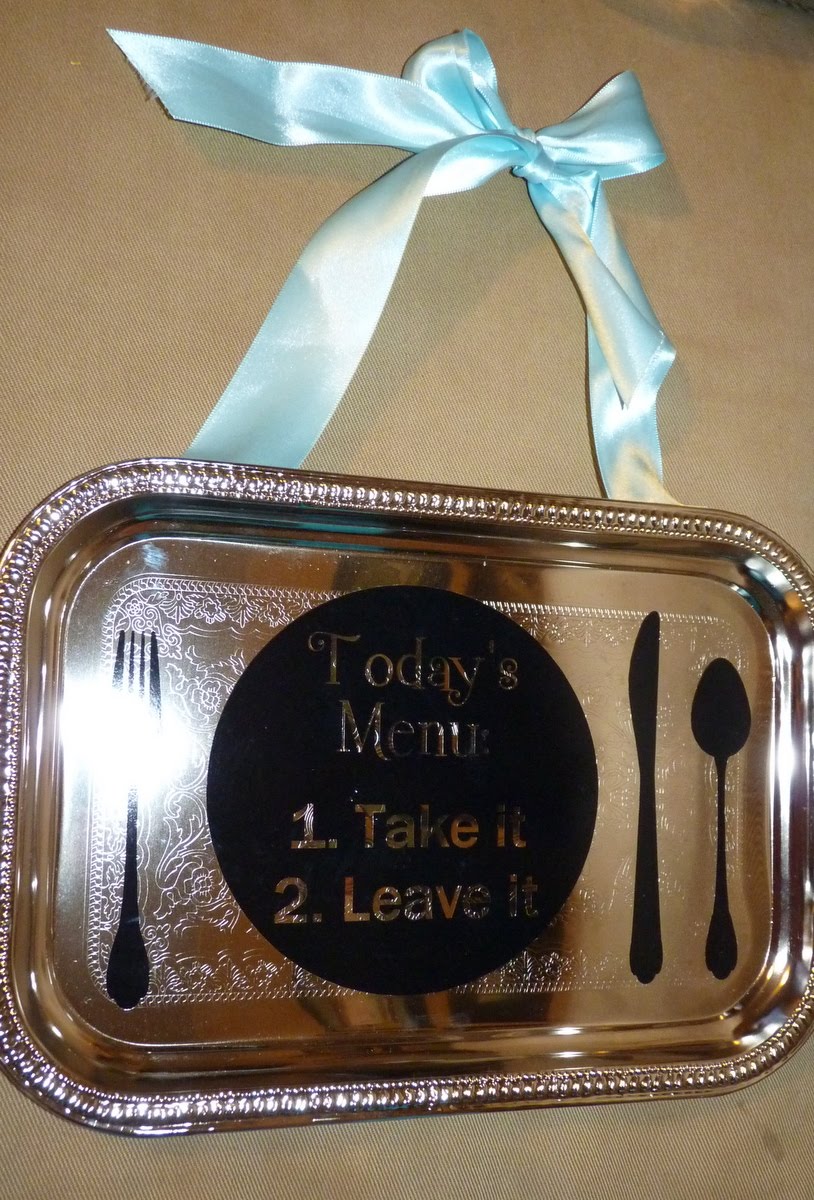


More another time! If you have any questions abt any, let me know. :)


Welcome!

Hi! I'm Robyn from Create it. Go! and I love to create! Whether its a wood craft, painting, papercrafting, simple sewing, vinyl, new recipes, photography adventures, or fun with my Silhouette, join me for tutorials and loads of fun!


Follow me on Instagram!


Member of the Glue Dots Design Team

Find me here!


POPULAR POSTS
-
 Two of my nieces are graduation from high school this year...the oldest and first in the cousins of my kids! So I have thought about grad gi...
 -
 So how many of you procrastinate? I sure do! I always work better under pressure, but not always sure that's a good thing. And I hope I...
 -
 Are you still looking for a fun and quick gift? Want something different? Well, I have the perfect little idea for you! And it's so fun...
 -
 This shop has been compensated by Collective Bias, Inc. and its advertiser. All opinions are mine alone. #BringingInnovation #Collect...
 -
 This shop has been compensated by Collective Bias, Inc. and its advertiser. All opinions are mine alone. #DropShopAndOil #CollectiveBi...
 -
 So So So excited to share this week's From this to that Friday with you!!! I thought of this last year and never got a chance to make i...
 -
 The FB Silhouette Challenge Group I recently joined challenged us to use fabric in our projects for February on our Silhouette machines, ...
 -
 This week my daughter's class celebrated the 100th day of school. They were all told that they could dress up the way they think they w...
 -
 Whether you are wanting to make the nativity ornaments or the Minecraft, the inserts all work the same. And they are sooooo easy! Supplies...
 -
 A friend found this quote and came over to my house to make it and I loved it so much I made one too! I want to create a little reading noo...
I party at:


Button Up!

I'm a member of the Church of Jesus Christ of Latter-Day Saints and proud to be an #ldsmommyblogger

If you would like to know more, you can click on the picture of Christ above.
Papercrafting Below:
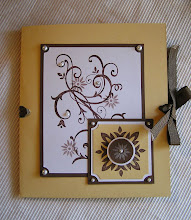
Card portfolio
Inside view
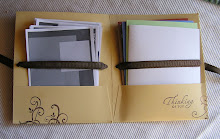
Side-view
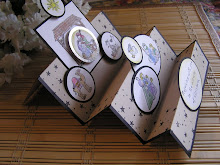
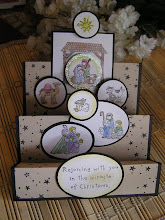
Stair-step card
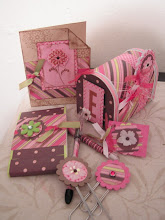
Army Pride
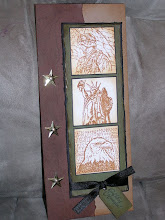
One Sheet Wonder Layout

More OSW with Sunbeam Stamps

Photo cards

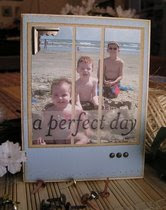

Gig 'Em!