
I don't know about you, but I have been BUSY BUSY this week and I still have so many more things to do still before the week is over! I did have a little fun with a small craft that I can add to my Fourth of July decorations though. AND I can even use it at Christmas time as well! (I love using the same decorations for more than one holiday when I can! Less to store!)
Well, if you follow me on Instagram, Twitter, or Facebook you may have seen a sneak peak of today's post already. It's a great one for From this to That Friday. From a spool of wire, to a hanging star! It's a really fun, fast and simple tutorial on how to make wire stars.

They're so simple and still 3D and pretty. You can leave them as the plain silver wire stars like I did, OR you can spray paint them and make them red, white, and blue or whatever color you want!

So today I am sharing a little tutorial on how to make these little gems.
As far as the supplies you need, they are very minimal. I picked up my wire from a hardware store. Either of the wire weights in the following picture will work.

The difference between the two is that one is more easily bendable and thinner than the other, although I prefer the heavier one of the two.
Then grab some scrap wood and draw out the shape of a star on your wood. Pound some nails into each bend and point of the star. Pound the nails ALL the way through the board. Then flip the board over to look like the pictures below.
Then pound the tips of the nails just a bit to flatten them out.

This just helps the tips of the nails not to scratch you so much as you are working.

Now, you're ready to make your stars!
I start by hooking my wire around one nail first. (I just work off of the spool of wire. I don't cut it a certain length at the beginning, but only cut as I finish each star.)

Then you just start taking your wire and going around the nails that make the shape of the star. The picture below is my 9 year old daughter making a star. So this is a craft that many ages can do!

With the heavier wire, I went around the star shape a total of four times. You can do three and it will still work well too. For the lighter weight wire, I like to do 4-5.


After you go around the shape of the star as many times as you want, you pull all of the wires together, and keep them together, as you pull your wire star shape off the top.

Now you have the outside shape of the star.

You do NOT cut your wire here. You now take your wire and start to randomly go around the star with your wire. This is how you create more of a 3D look.

I don't have a set amount of times that I go around the outline of the star, I just do it until it looks good to me. I usually go around each area 2 or so times.

Now you are ready to cut your wire. I cut it long enough where I can tuck the end inside of the star and leave it that way.


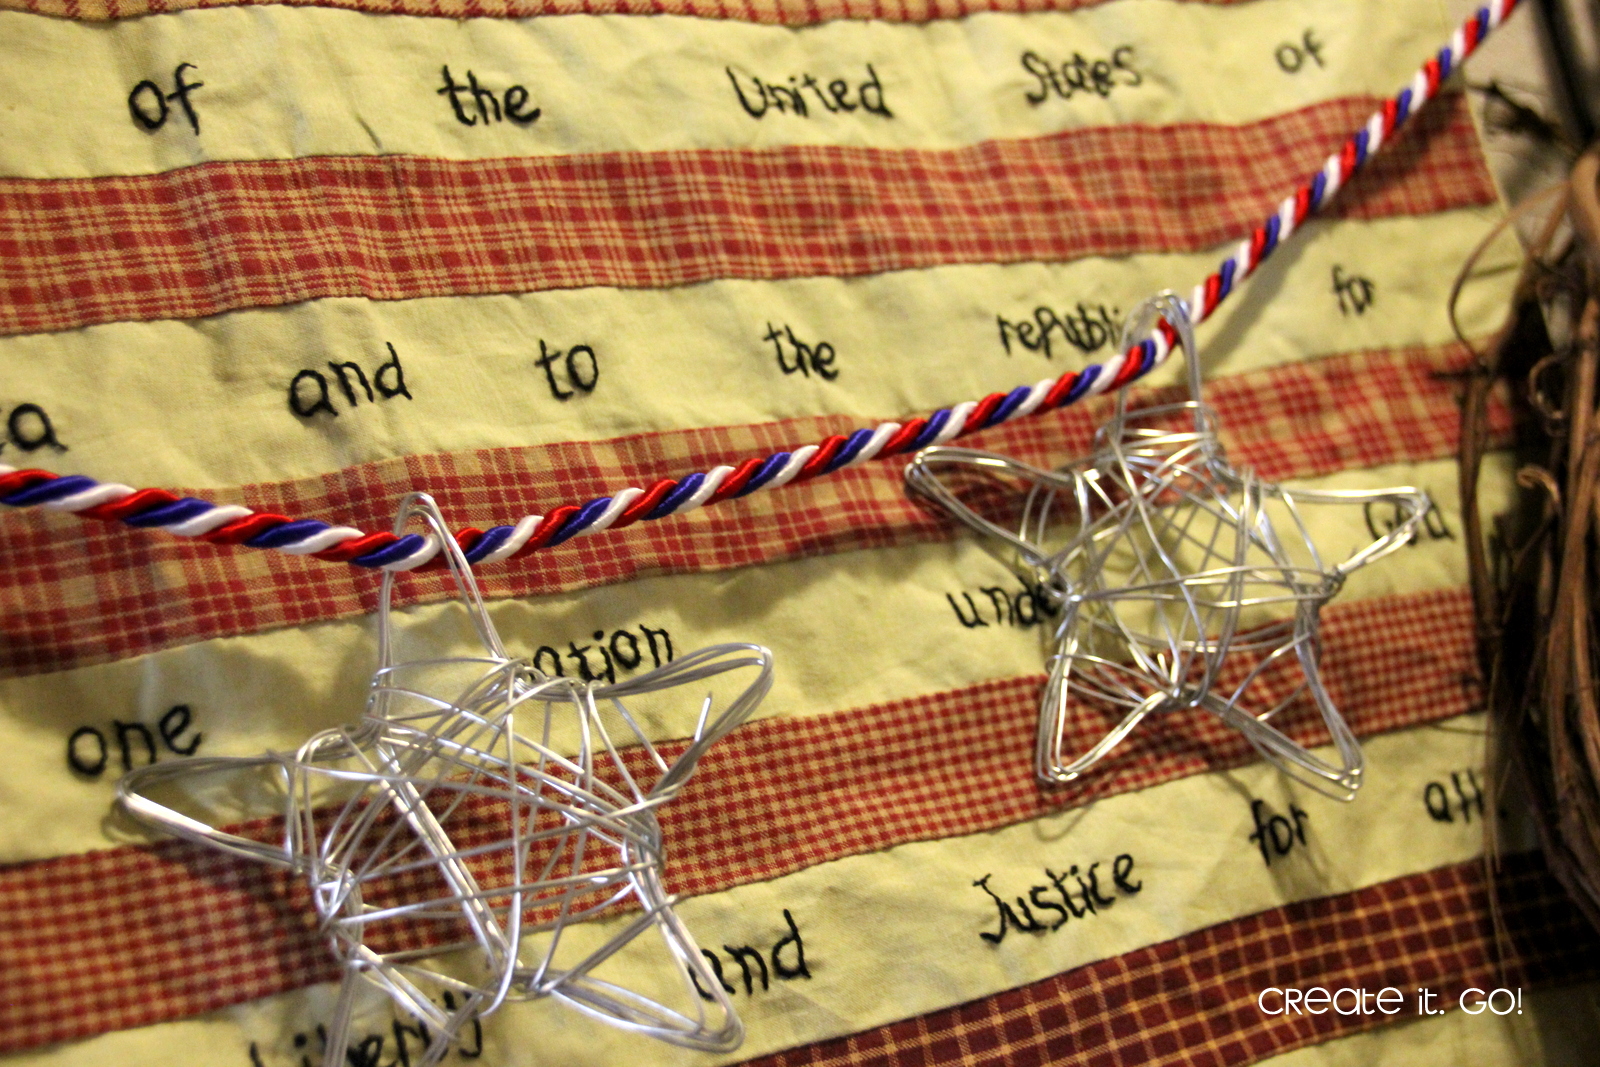
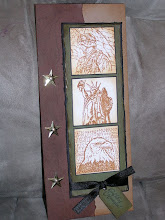
There you go! Super easy and so many fun ways you can use these little wire stars!

Whether you set them on a shelf by themselves, throw them all in a bowl for decoration,

use them as ornaments, or make a garland out of them, or string them along a strand of lights, they're fun and pretty! So give it a try!


1 comments:
I love these!!! They are too cute!!
Post a Comment