Wednesday, February 27, 2013
My Stache Give-away!
Tuesday, February 26, 2013
Car Roll Up

Monday, February 25, 2013
Cookie Cake Recipe


Sunday, February 24, 2013
A Comeback!
Just a heads up for you...I used to do (years ago when all of my blog was just papercrafting and stamping with a few other projects I showed here and there) From This to That Fridays.
Well, I am excited to announce, that I am bringing them back. Although...it won't be papercrafting...unless it's here and there. So, look to Friday for some fun new things I have to show you. (I already have so many ideas, it's hard to wait to show you!!!) Think girl scout cookies for this week. lol Wanting some thin mints now? :)
Thanks to picmonkey for helping me create these cute collages. Now if I can find the time to learn how to turn them into buttons! :)

Thursday, February 21, 2013
And the winners are...
Sorry I am actually a week late in this announcement. Sickness in my and my babes does me in!
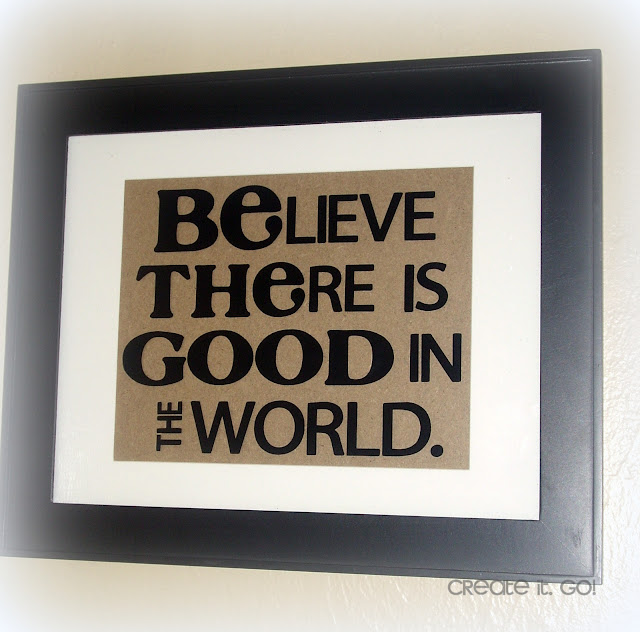
Excited to announce our winners from our BElieve THEre is GOOD in the World Vinyl GIVEAWAY!
They win the vinyl of either of the two options below (minus the frames, vinyl and wood)
I honestly didn't have a lot of contestants, on my Create it. Go! pages, but had a lot more on my personal FB page. I am honestly just happy to pass this along to someone else to put up in their house though. :) We involved the whole family and I had the kids pick their favorites up the uplifting quotes submitted. It actually created great conversation in our home, so thank you!
Drumroll please...
Winners are:
Ginger
"I can do hard things." (This one is actually our own family motto that is displayed in our dining room, so this was a no brainer for us on this one.)
nid
"Together we make a family"
I can just see this one surrounding by pics of all generations past! Love!
Liz
In all of living, have much fun and laughter. Life is to be enjoyed, not just endured. -Gordon B Hinckley
silly-we put the fun in dysfunctional and the one that you have that says:as far as everyone knows we are a nice normal family
Congrats to all and thanks to everyone for playing along. I'll be having another give-away shortly!

Wednesday, February 20, 2013
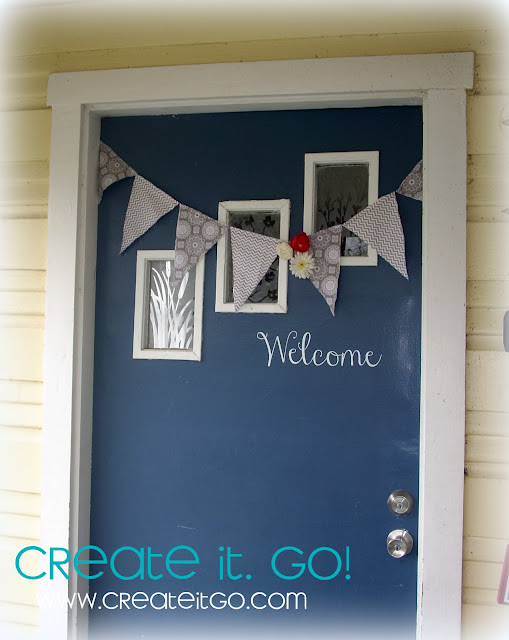
Welcome! to my front porch...

I also glass etched the little windows in our front door last year. I didn't like how people could see right through them OR how the sun would shine right into our eyes every evening as it the sun went down...and I wanted a bit of charm in them. I like the end result. Fun and kinda cottage charming I think. Goes with our 1953 house that we bought and have slowly re-modeled almost every room in the house now. :) (Can you believe that someone carpeted over all the original hardwood flooring?!) Anyhoos....

Tuesday, February 19, 2013
Tell 'em you Love 'Em!
...All year long!
(Here it is the way I found it on my bed from my sweet 10 yr old son.)
I recently made this quote in vinyl, but haven't figured out what I want to apply it to (I have lots of quote cut out, but not put up yet. I am afraid someday, someone will walk into my home and think I went a bit vinyl-happy.) :) I know this project is about telling someone why you love them, but I am hoping it evokes more of the "proving" it is true as well. :)
It's Tuesday though, so feel free to link up anything you have made lately or have been inspired by! Just put your link in the comments! (And BTW-I thought I was so cleaver, coming up with the phrase "Tag, You're it! Tuesday and now I have seen it elsewhere...hmmm...keep it? or figure out another phrase?)

Monday, February 18, 2013
It's my 1st Measure it Monday!


Card share
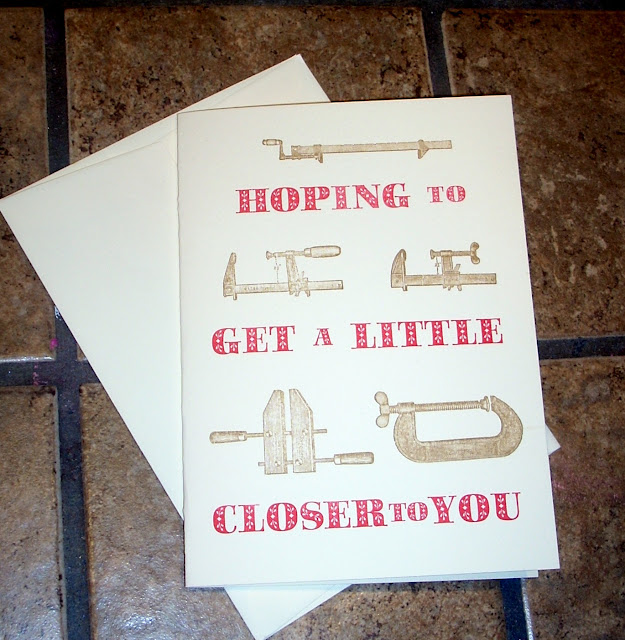
I've got a card share for you today! I absolutely love this card from Anise Press. Anise Press is a letter press company that creates beautiful work. You can find them at anisepress.com and you can see them featured at Design Mom here. Love their stuff! One of my favs is one of their newest ones they have for sale. I got it for my Dad for his bday, but it would work for any occasion really!

Saturday, February 16, 2013
Wednesday, February 13, 2013
Mustache Pencil Topper Valentines
Leave it to one of my kids to decide the day before Valentines that they REALLY want to make some Valentines!
I had seen some cute sayings with mustaches on pinterest and thought it would be so cute to make little staches on the top of pencils, where the kids could hold them in front of their faces. And again, I like that they can still use the item (pencils) again later (like the bookmarks). They are FUNctional! :) He loved the idea right away and got a big smile on his face.
So, I whipped these out this am. I can't wait for him to get home from school and see what he thinks! (And he can help assemble the rest too!)
Mustache Pencil Topper Valentines
Supplies: Pencils, glue dots, string, black cardstock, printer paper, red marker, (optional: washi tape)
1-Print out your own template (or if you want mine I am happy to email it to you.) of your tag/card
2-Fold your paper in half
3-Cut into strips
4-Cut out your mustaches on black cardstock
5-If you want a bit of color on your tags/cards, you can use a red marker and a ruler and just line the edges in red,
6- OR you can line it with some washi tape. I did both.
7-Grab your glue dots and attach your mustache to the pencil with the glue dots.
8- Punch a hole in your tag and attach it to the pencil with some string.
Still working on my kids' teacher's gifts. Nothing like a deadline to get me motivated. haha Have a Happy Valentines Day!

Tuesday, February 12, 2013
Welcome!

Hi! I'm Robyn from Create it. Go! and I love to create! Whether its a wood craft, painting, papercrafting, simple sewing, vinyl, new recipes, photography adventures, or fun with my Silhouette, join me for tutorials and loads of fun!
Instagram: @robyncreates
POPULAR POSTS
-
Two of my nieces are graduation from high school this year...the oldest and first in the cousins of my kids! So I have thought about grad gi...
-
So how many of you procrastinate? I sure do! I always work better under pressure, but not always sure that's a good thing. And I hope I...
-
Are you still looking for a fun and quick gift? Want something different? Well, I have the perfect little idea for you! And it's so fun...
-
This shop has been compensated by Collective Bias, Inc. and its advertiser. All opinions are mine alone. #BringingInnovation #Collect...
-
This shop has been compensated by Collective Bias, Inc. and its advertiser. All opinions are mine alone. #DropShopAndOil #CollectiveBi...
-
So So So excited to share this week's From this to that Friday with you!!! I thought of this last year and never got a chance to make i...
-
The FB Silhouette Challenge Group I recently joined challenged us to use fabric in our projects for February on our Silhouette machines, ...
-
This week my daughter's class celebrated the 100th day of school. They were all told that they could dress up the way they think they w...
-
Whether you are wanting to make the nativity ornaments or the Minecraft, the inserts all work the same. And they are sooooo easy! Supplies...
-
A friend found this quote and came over to my house to make it and I loved it so much I made one too! I want to create a little reading noo...
Copyright Protection
BLOG ARCHIVES
-
▼
2013
(159)
-
▼
February
(23)
- Too cute!
- My Stache Give-away!
- Car Roll Up
- Cookie Cake Recipe
- A Comeback!
- And the winners are...
- Welcome! to my front porch...
- Tell 'em you Love 'Em!
- It's my 1st Measure it Monday!
- Card share
- Rubik's Solution Tip
- Valentine Yummies
- Mustache Pencil Topper Valentines
- Parties this week!
- Tag, You're it! Tuesday
- Do-Over! of my Rustic Chunky Frame
- Liebster Award!
- Believe There Is Good...Be the Good
- Ice Cream Sundae Onesie Tutorial
- Introducing Ice Cream Sundae Onesies!
- Birthday Cards for Ethan
- Teen T-shirt Share
- Rustic chunky frame
-
▼
February
(23)

Button Up!

I'm a member of the Church of Jesus Christ of Latter-Day Saints and proud to be an #ldsmommyblogger
PLEASE!
Papercrafting Below:
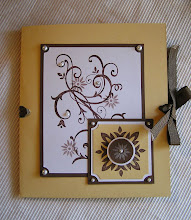
Card portfolio
Inside view
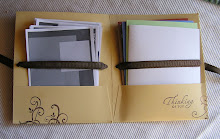
Side-view
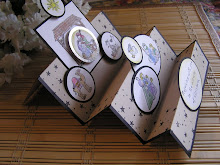
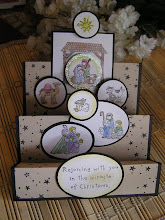
Stair-step card
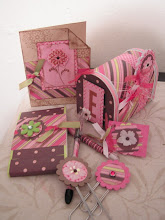
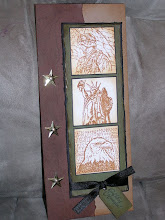
Army Pride
One Sheet Wonder Layout

More OSW with Sunbeam Stamps

Photo cards


Labels
Gig 'Em!


