
This shop has been compensated by Collective Bias, Inc. and its advertiser.
All opinions are mine alone.
#BringingInnovation #CollectiveBias #upcycle #repurpose #gardening #containergardening #diy #giveaway #batteries #energy #family #outdoors #garden #pallets
I'm so excited to share today's post with you! If you have been here before, you know how much I absolutely love taking one thing and making it into another, ESPECIALLY when I get to repurpose and upcycle. I often share "From this to That Friday" posts (my favorites!) where I do just that! Well, today's a BONUS! It's not Friday, but it's a post where I take something old and use it to make AND grow something new. AND I get to help the world work toward living greener!

I love using pallets, old fence wood, metal, and other materials I find, and repurposing and upcycling them into DIY projects I come up with. I have made fun household items, word art, shelves, and trunks just to name a few.
(You can see some of them under my "Repurposes" column at the top of my site.)
Well today, I tried something new! I took some old pallets (that I found in the trash for FREE!), and I used them to create some above ground gardening containers. AND I used an old bedspring to make an herb garden!

For almost the past ten years, we have owned a house and have had a garden most of that time. Well, when we moved out of state awhile back, we decided to rent for a bit. But, I have really missed my garden. So...I came up with a different way of gardening in our backyard. I use above ground garden boxes and hang plants from our privacy fence.

First, I started with the pallets. I figured out the dimensions that I wanted each box to be, and I got to work disassembling the pallets to re-use that wood. We found the fastest and easiest way to do this was with a reciprocating saw. Then we cut the wood to the desired lengths we had predetermined. (That's the beauty of DIY projects, you can decided yourself the size you want them!). We didn't want them so big that we couldn't move them OR so big that they would have to hold a TON of dirt. You have to remember the weight that they are going to need to hold between the soil AND the water...Then we started stapling and nailing them together. We even got our kids involved.

I love love LOVE them! They came out great!

Next, I headed to the store to get more gardening materials.
As I was pricing fertilizer at Walmart, to add to my soil mixture, I walked by and noticed Energizer's new EcoAdvanced batteries. I love that they are helping to keep the planet greener too!
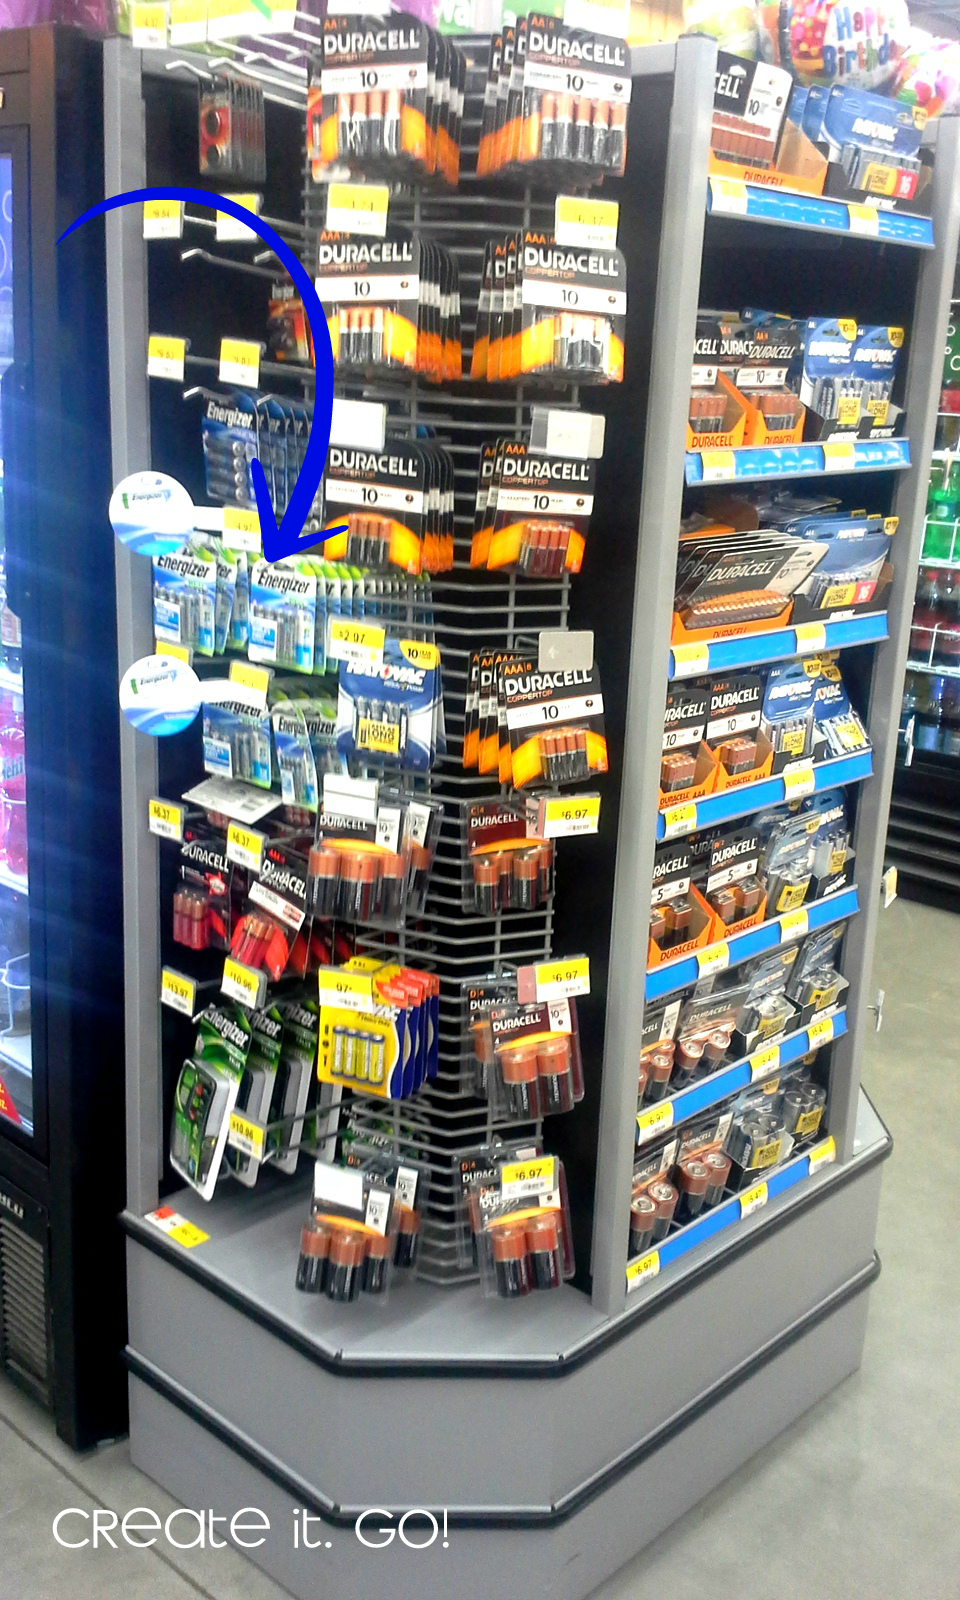
Energizer is actually the first battery on the market to use recycled batteries and/or materials. It's also Energizer's longest lasting alkaline ever. They hold up to 12 years in storage. The EcoAdvanced batteries come in both AA and AAA sizes. I don't know about your house, but ours can go through a ton of AA batteries!

Well, I picked some of those up as well for my little ones to use outside with their Bubble blower. Because, what little kid doesn't like bubbles?! And I plan to be outside a lot gardening, so this was perfect to help them be happy outside with me!

Ok, back to the gardening...

This brings me to the next part of my gardening with upcycled materials. I have this great husband, that also sees treasure in trash, and even brings treasures home to me at times. (I am soooo not being sarcastic. I seriously love that he does this!) Well, he brought home this old bed spring awhile back and I have wanted to make it into an herb garden ever since! It's perfect for it! And it really was all so simple and easy, it made me want to squeal! hee hee
First thing we did with the bedspring was to hang it from the fence.

Then we took 1 liter bottles, and we recycled them to be used as containers for the herbs or for starter plants (like my strawberries).


Then I punched a hole in either side of the bottle planters, and used some zip ties to tie the bottle halves onto the bed spring. Wala! That was it!

I love the way it came out!


Charming!
I even found myself stealing a peak at it all day out the windows, from inside the house. haha

And even my little girls love to come and water them for me!


(Personally, I love that I have the makings for salsa just in this little herb garden
and my pallet box containers. Yum!)
I'm so excited to share today's post with you! If you have been here before, you know how much I absolutely love taking one thing and making it into another, ESPECIALLY when I get to repurpose and upcycle. I often share "From this to That Friday" posts (my favorites!) where I do just that! Well, today's a BONUS! It's not Friday, but it's a post where I take something old and use it to make AND grow something new. AND I get to help the world work toward living greener!
I love using pallets, old fence wood, metal, and other materials I find, and repurposing and upcycling them into DIY projects I come up with. I have made fun household items, word art, shelves, and trunks just to name a few.
(You can see some of them under my "Repurposes" column at the top of my site.)
Well today, I tried something new! I took some old pallets (that I found in the trash for FREE!), and I used them to create some above ground gardening containers. AND I used an old bedspring to make an herb garden!
I love love LOVE them! They came out great!
As I was pricing fertilizer at Walmart, to add to my soil mixture, I walked by and noticed Energizer's new EcoAdvanced batteries. I love that they are helping to keep the planet greener too!
Energizer is actually the first battery on the market to use recycled batteries and/or materials. It's also Energizer's longest lasting alkaline ever. They hold up to 12 years in storage. The EcoAdvanced batteries come in both AA and AAA sizes. I don't know about your house, but ours can go through a ton of AA batteries!
Well, I picked some of those up as well for my little ones to use outside with their Bubble blower. Because, what little kid doesn't like bubbles?! And I plan to be outside a lot gardening, so this was perfect to help them be happy outside with me!
Ok, back to the gardening...
This brings me to the next part of my gardening with upcycled materials. I have this great husband, that also sees treasure in trash, and even brings treasures home to me at times. (I am soooo not being sarcastic. I seriously love that he does this!) Well, he brought home this old bed spring awhile back and I have wanted to make it into an herb garden ever since! It's perfect for it! And it really was all so simple and easy, it made me want to squeal! hee hee
First thing we did with the bedspring was to hang it from the fence.
Then we took 1 liter bottles, and we recycled them to be used as containers for the herbs or for starter plants (like my strawberries).
I cut the bottles in half and used both halves to plant my herbs in. (You'll need to drill a few small holes in the bottom of the bottle halves as well, so that when it rains, the water will be able to drain somewhere.)
Then I punched a hole in either side of the bottle planters, and used some zip ties to tie the bottle halves onto the bed spring. Wala! That was it!
I love the way it came out!
Charming!
I even found myself stealing a peak at it all day out the windows, from inside the house. haha
(Personally, I love that I have the makings for salsa just in this little herb garden
and my pallet box containers. Yum!)


Make sure you enter because I don't know that ANYONE that can't use a few extra gift cards! And you'll never win, if you don't enter!
I shared with you my newest upcycled project. Now, I'd love to hear about yours, or some that you have seen recently that you want to do!


12 comments:
It is charming! Can't wait for the salsa!
I know where I can get lots of pallets and have my hubby make some garden boxes! Thanks for responding to my question on Instagram too. =)
Sure Aliza! I'd love to see what you come up with! Thanks!
Wow!! These are such awesome projects! I'd love to use these ideas in our backyard! #client
how did you put together the bottom and attach the legs to the boxes
Robyn you did such an amazing job! I love that your materials are upcycled. Had to feature this project at Creative Spark Link Party this week! Can't wait to start gardening again. Hope you stop by and party with us again this week. http://weekendcraft.com/journal/creative-spark-link-party-49
Thanks everyone! I'm still loving it all!
Thanks for the Feature Michelle!
Monica, To answer your questions...the legs come all the way up from the ground to the top of the boxes. That way you can nail your sides to the legs on each side as well. The bottom of each box is just more slats of pallet wood, like the sides. This way it allows for water drainage to seep out as well. Thanks!
http://myDIYOL.blog.de
great job!
Looks good!
greetings
Uwe
Thanks for sharing that about Energizer. Now that's good corporate design.
Franklin Lakes competition typically takes place in September and it lasts for a week with countless entertainment. meals courts, companies, pony rides, track, enjoyment, amusing games are the normal part of the competition Get More Info.
Post a Comment