#stpatricksdaydecor #stpatricksday #saintpatricksday #freeprintables #subwayart #wordart #potogold #diy #tutorial #holidaydecorations #irish #lucky
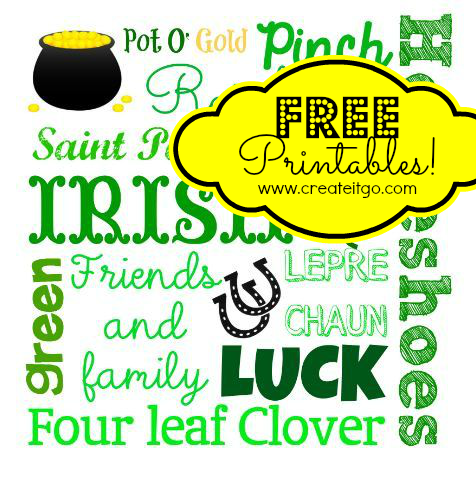
The first one I started designing was a fun subway art. I LOVE the way it came out! I don't know what it is about Subway art, but I love it! So fun and cheery. Festive and simple.
If you would like to download this free printable, you can find it here. (For personal use only.)
I found these 8x8 little shadow boxes on sale right after Christmas and have been dying to find something to do with them. Now that I started, I'm afraid that this could get addictive. Ha! What I love about printables and frames though, is that you can change out the printable and keep the same frame for holidays throughout the whole year! Just create a file in your house somewhere to keep the printables and trade them in and out as the holidays come and go. Perfect! (and inexpensive too!)
The next printable I made was mainly green, but more colorful than the subway art too. It is a bit bolder, but stays simple too with the only words being "Lucky Us".
If you would like to download this free printable, you can find it here. (For personal use only.)
I wanted to add some more fun to the shadow box with this one and knew immediately what I wanted...a horseshoe! BUT...I didn't have one. And didn't have a clue where to get one...nevermind that little thing about having to get dressed, get the kids dressed, leave the house, drive somewhere, spend money....nope. Wasn't doing that today. haha
So, here you go!
DIY Paper Horseshoe Tutorial
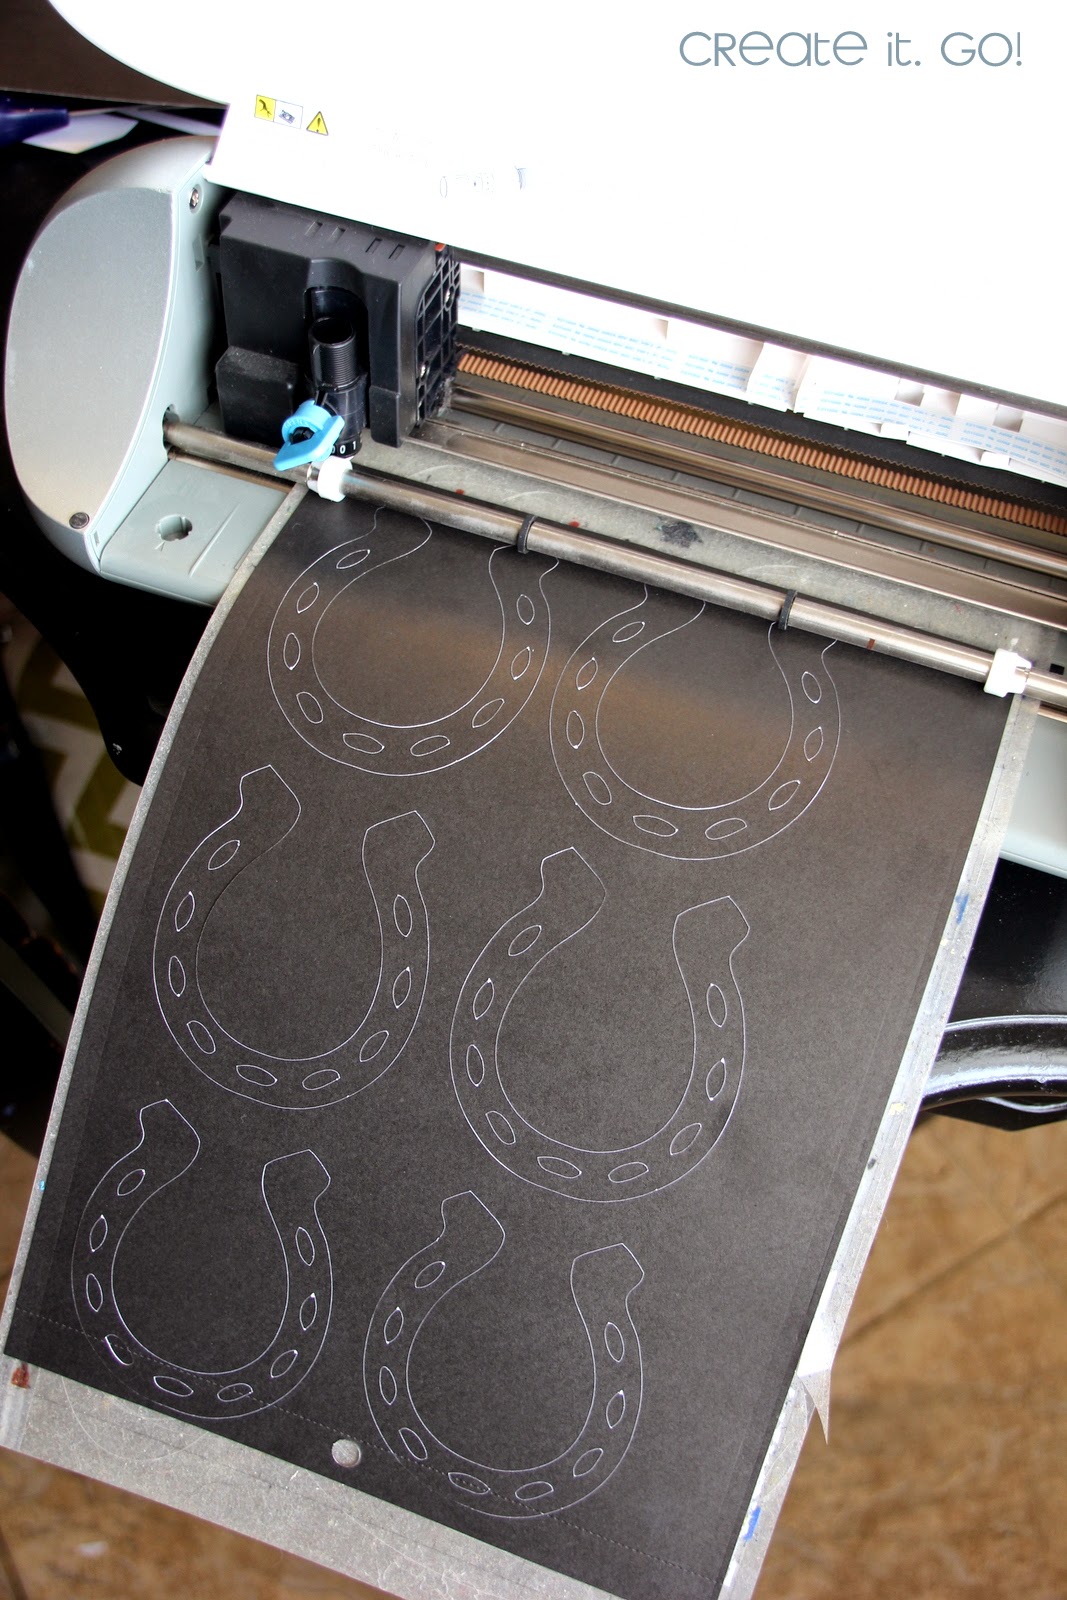
The first thing I did was to find a horseshoe shape I liked. I used my Silhouette to cut mine out, but if you don't have one, you can cut them out yourself. It just takes longer.
Then, I just used a good adhesive (that dries fairly quickly) and glued each one on top of the next. You need to line them up as best you can too. My daughter wanted to help with this part.

BUT...I wanted to make it look a bit more realistic and stronger, so I used some Crystal Effects to layer all over the front and sides of the horseshoe as well. This took a few hours to completely dry, but I love the outcome. It makes it stronger and even look a bit more realistic.
So, no excuses for not decorating for St. Patrick's Day. Just print a couple word art sheets out and throw them in a frame and you're ready to wear green!














0 comments:
Post a Comment