

The FB Silhouette Challenge Group I recently joined challenged us to use fabric in our projects for February on our Silhouette machines, so this is what I came up with!
It's Minion Madness in a Sock! I don't know about your house, but in mine, minions are a huge hit...STILL! It doesn't go away! Everyone loves them! I was thinking about a sock bunny I made as a child (like a sock monkey) and thought I could make it in a similar way and it would make a great minion too! And it did! It turned out adorable and so fun to play with for my kiddos!
Interested in making one yourself? I'm posting a tutorial with step by step instructions below on how to make your very own DIY Sock Minion, so keep reading!
PLUS...I've got even more for you today after the tutorial! 44 other projects that you can do with fabric and your Silhouette from the SIL Challenge Group!
Now for that tutorial...here are my step by step instructions as to how I made it. :)
First thing you'll need to find is some yellow socks. I picked mine up at Academy. (Soccer or baseball ones would work great! The soccer ones are more thick, ribbed looking and the baseball a bit smoother...)

1-First thing is you want to decide the size of your minion and cut your sock. I used the long straight part for my minion. You can use the area from the toe to the heel, but I was afraid the toe would be shaped weird when stuffed, so I opted for the straight-away. (below)

The next part I used my Silhouette machine for, BUT if you don't have one, you can just draw this out and cut it yourself without a machine.
I purchased some of the denim iron on patches to use for the overalls. (Since it is already stiff, there is no need to add interfacing when cutting on your SIL.) I placed it directly onto my mat.

I drew up the overalls and straps in my Silhouette program. At first I started with a design like this. I used simple rounded rectangles and welded them all together to look like overalls. (It's long on the sides to go around the backside of the minion.)

You could do the above or...I then ended up changing it to this so that I had more options as to where the straps went on the minion. (The long rectangles were the straps now, so I could wrap them around better.)

I used my Silhouette machine to cut the fabric. This was my first attempt at cutting fabric on it. I was nervous! Don't ask my why! lol I put the settings on canvas/heavy fabric. I ended up double cutting it and checked the ends to make sure they actually cut before I took it out of the machine...just in case I had to cut it again, but I didn't. A double cut worked perfect!

So, this is what you should have at this point:

Then I cut a little square cardboard to go inside my sock that stretched it a bit to allow for the stuffing that would stretch it later. I ironed on the main part of the overalls.

Then added the straps. (I circled one part of the straps at the bottom of the pic below to show you I also ended up cutting a little niche in the straps to get it to lay flat as it came around the side of the minion.) Then I started adding my stuffing.

Okay, you are ready to grab a needle and thread now. You want to go in and out all the way around each end of the minion like shown in the pics below.

After you go all the way around with your needle and thread, you pull it and cinch it all together tightly.

And lastly to finish the main part of the minion and to close him up, you hold it cinched together tight as you stitch back and forth straight across from different directions to keep that cinch shut tight and tie a knot.

Congratulations! You have finished the body of your minion!
Next, you are ready for all the accessories that make him so fun!
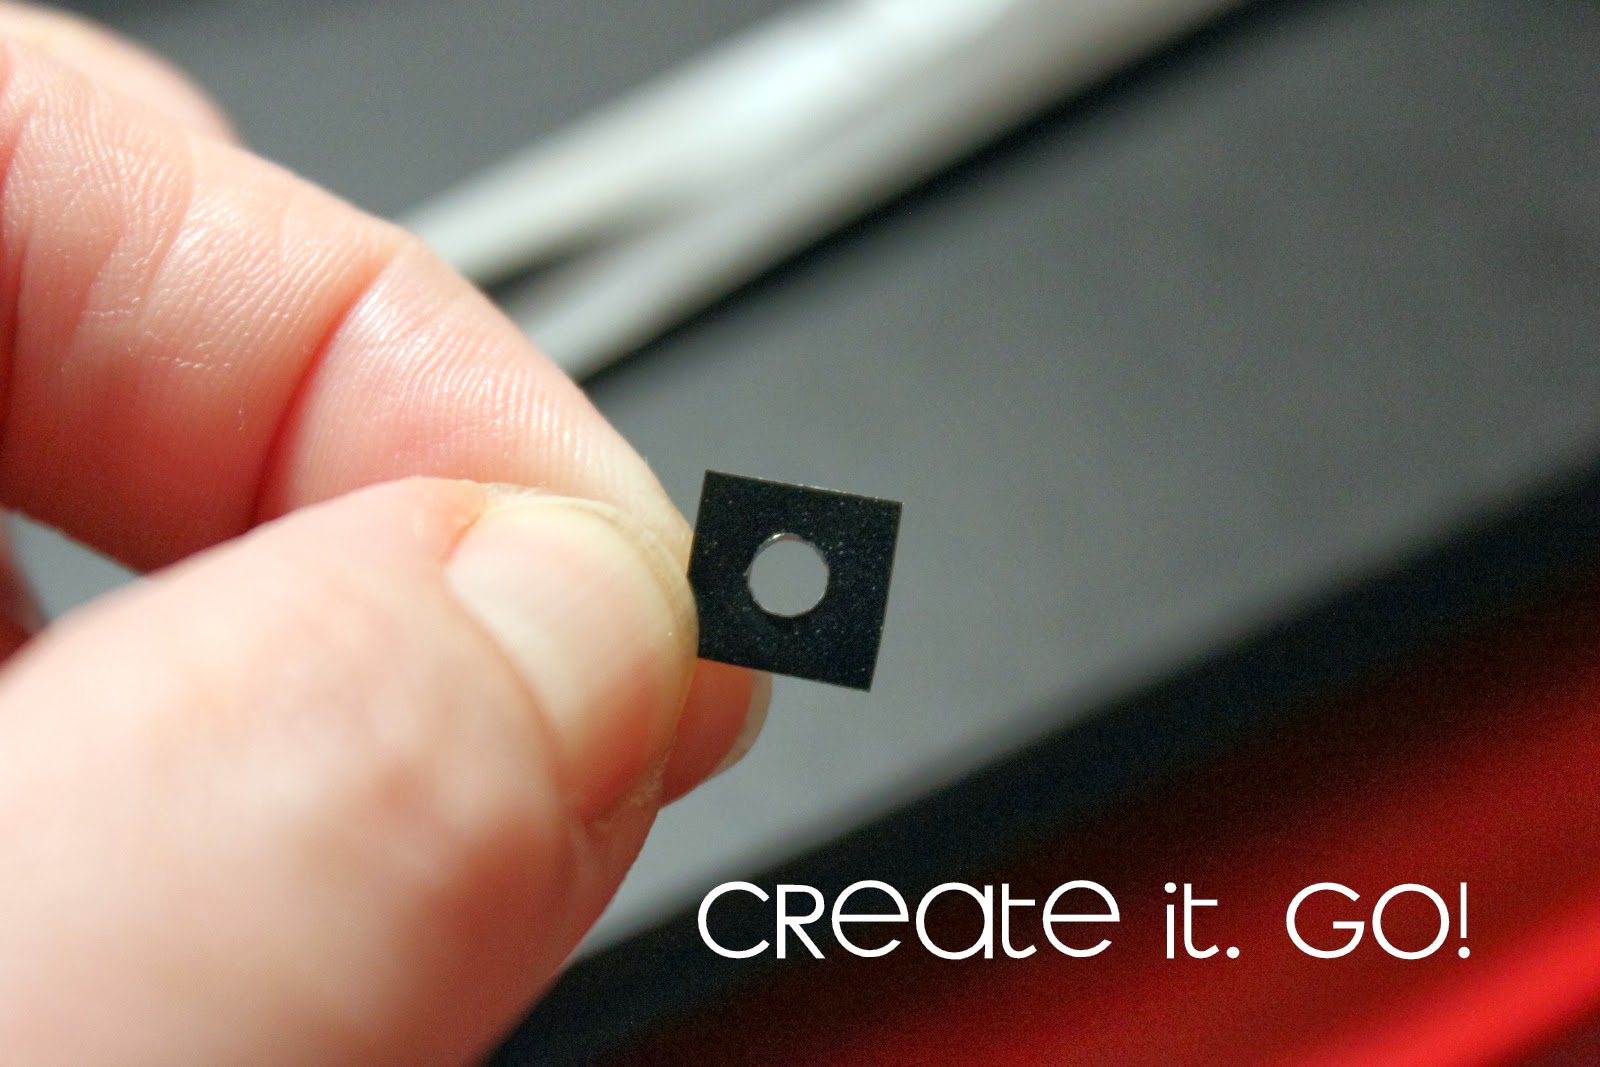
I grabbed three blue buttons, two smaller for the tabs on the overalls and another for his belt buckle. I used vinyl and just cut a tiny diamond by hand and punched a tiny hole in the middle and then cut a tad out to look like a "G" for "Gru. I then cut out a tiny pocket shaped out of the scraps of denim left over from the patch and applied the vinyl to the belt buckle button and hot glued it on together.
The smaller buttons at the end of his straps on his overalls, I sewed thread through first and then hot glued them on.

I used two washer and two googly eyes for his eyes and some black ribbon to go around him for his goggle straps. Hot glued those all on too.
His mouth I probably struggled with the most. I debated on felt, but couldn't get it to look right, so I ended up using a muted reddish orange color (so it didn't stand out too much, but could still be seen) and stitched a funny little crooked smile on. I stitched across him one way and then came back the other way to fill in the gaps.

I didn't have any black yarn (although that would work even better I think), but used black embroidery thread to make his hair. I just sewed random little black pieces of hair all over the top of his head. You can also do it long and combed like some had or crazy sticking up! :)

Looks like he's got his arms tucked in too! haha

And there you have your sock minion! I love him! And my kids fight over who gets to sleep with him. As an afterthought, you could put rice or beans in the bottom of him to help him stand better or to be able to use as a bean bag. Just don't let him get wet! haha

I love how his eyes seem to follow me everywhere! Too fun!


And now...

I need some purple socks! (hint hint!)

PLUS, here's the extra for you today!!! So much fun in one (LONG) post! haha
Want to Check Out More Silhouette Projects?
My Silhouette Challenge buddies and I are all sharing projects on our blogs today, so peruse the projects below for a wealth of Silhouette inspiration!

- No-Sew Valentine's Day Pillows by A Tossed Salad Life
- No-Sew Interchangeable Fabric Bunting by unOriginal Mom
- Monogrammed Burlap Garden Flag by The Turquoise Home
- Crawl, Walk, Bike by It's Always Craft Time
- Freezer Paper Stenciled Tote Bags by Weekend Craft
- DIY Bleach Spray Shirt by Practically Functional
- Stenciling Sherlock by Please Excuse My Craftermath...
- Felt Star Wands by Cutesy Crafts
- Yoda Kid's T-Shirt by Architecture of a Mom
- Mark Your Territory- Dog Flags by Black and White Obsession
- Nautical Pillows by Lil' Mrs. Tori
- Big Sister Gift & Silhouette Cut File by Creative Ramblings
- Nerdy Baby Onesies + Free Cut File by Essentially Eclectic
- Easy Easter Bunny Onesie - Silhouette Cameo Craft by Adventures in All Things Food & Family
- Fabric Envelopes for LEARNING LETTERS! (& cut file) by From Wine to Whine
- "Good Morning, Sunshine!" Memo Board by Tried & True
- Hearts-A-Lot Burlap Pillow Cover by My Paper Craze
- Baby Quilt by Dragonfly & Lily Pads
- Surprise Holiday Banner by Whats Next Ma
- "Team Betty" Tote Bag by The Thinking Closet
- DIY Sock Minion by Create it. Go!
- Pretty Up Some Organza Bags by Getsilvered
- Easy Heart Appliqued Onsies by Create & Babble
- Bleach Pen Gel & Freezer Paper Stencils Made with the Silhouette Machine by Bringing Creativity 2 Life
- Valentines Baby Onesie & Boy's Shirt + Free Cut Files by The Frill of Life
- Valentine's OWL Always Love You T-shirt by My Favorite Finds
- DIY Screen Printed Curtains by Chicken Scratch NY
- Fabric Painted Quilted Wall Hanging by Terri Johnson Creates
- Glitter Iron-On Top by Simply Kelly Designs
- DIY Monogrammed T-shirts with Silhouette Heat Transfer Material by Pitter and Glink
- Birthday Challenge by Fadville
- Machine Applique with SIlhouette Cameo by The Sensory Emporium
- Fabric Applique Valentine's Day T-Shirt by DailyDwelling
- "Cute as Cupid" shirt by crafts, cakes, and cats
- Sew Cute Applique by Life After Laundry
- Rhino Onesie by It Happens in a Blink
- Upcycled Birchbox Cameo Accesory Organizer by Cupcakes&Crowbars
- Customizing textiles with Heat Transfer Vinyl (working title) by feto soap
- Easy Fabric Art by McCall Manor
- Lady Bug Tote Bag with Silhouette Rhinestones by Ginger Snap Crafts
- Mommy and Em's Coordinated Aprons by TitiCrafty
- Canvas sketch project and a share by Clever Someday
- Foxy Lady Pajamas by Mabey She Made It
- Teddy Bear by Work in Progress
And just if you're interested, here's the schedule for the year for our challenges, so make sure to check back each month to see all the amazing things you can do with your Silhouette!


9 comments:
Inspired idea to use the denim patches! Very cute Minion :)
This is really cute. I like your idea of using the denim patch with it's built in interfacing - very innovative!
wow great job!!! I wish my little one was a Minion fan so I had an excuse to make one!!!
Thanks everyone! It was fun to make!
Ack! My boys would go crazy over this! Too cute!
Very fun, VERY CREATIVE project! Great job!
You're so kind! It was so fun to be part of this creative group!
This little guy is so cute! I'll bet your kids love it!
Adorable! Yes, my kiddos are minion crazy, too! Love this!
Post a Comment