This shop has been compensated by Collective Bias, Inc. and its advertiser.
All opinions are mine alone.
#AmopeLovesMoms #CollectiveBias #tutorial #pamperingparty #mother #mom #mothersday #pamper #pedicure #diy #party #flipflops
I can't believe that Mother's Day is right around the corner! I don't know about you, but when I think of a mother, I don't always think of ME as the kind of mom described by all those kind words you hear associated with mothers. Words like patient, soft spoken, great examples...Ha! I know I definitely fall short of those qualities many days! I do, however, think of my own mom. In my mind, she is amazing! Although, I bet as a young mother, she felt more like I do about myself as a mother today. I believe that most mothers, as a whole, are too hard on themselves. Some of us are carrying a heavy load and are just trying to get from day to day, and we need to give ourselves a break. We are much quicker to give another mom the benefit of the doubt, but we don't do the same for ourselves all too often, when we fall short of how we "think" we should be...or what we "think" that we should be able to accomplish in one day. But I truly believe that the efforts that all mothers make each day, make the world a softer and a more beautiful place.
(Keep reading to see what a fun Mother/Daughter Pampering Party for Mom we had. PLUS I am sharing how to create the perfect Mother's Day Basket below.)
My mother is wonderful! I can honestly say that. I don't mean she is (or was) perfect. BUT...I knew as a child, that she loved me and wanted the best for me. She loved me unconditionally and did the same for my six siblings. And that in itself is truly valuable to me, and has given me inner strength many times throughout my life. She was amazing to me in so many ways. For instance, she used to bake homemade bread all the time when I was a child. We had store bought bread maybe once or twice a year? (If that!) As a mother today, I cannot figure out how she made time to constantly do that . AND how in the world did she make enough bread/food to constantly feed us all?! OR how did she get the dishes done!? And don't get me started on the laundry, running us kids around, along with other responsibilities and things she did.
Here's another big thing that I love about my mother. She wasn't a complainer. I love that she was at home with us when we were little, and I know that she loved it, too. But I also truly admire her for going back to work as I grew older. The reason this is so admirable to me, is because it was an act of service and love for our family. My mother is the kind of woman that every child loves; even ones that are strangers to her. And she loves children, too. So, I know that going back to work for her, was not her first choice. But she did it for our family. And not once, did I ever hear her complain about it. I love her immeasurably for that.
I've thought of her in some of my more hectic and busy days lately and have pondered what do we, as moms, truly want? Do we just want a day off? And a good book to read? Do we want a mute button on the remote some days? Do we want more time to just sit and snuggle with our little ones, without thinking of everything else that we still need to do? Or do we even just want to be left alone in the bathroom? Just once! Haha Well, I tried to think of all those things that I would love to do, but never have time to do, and then I wrapped them all up in this fun little Mother's Day Basket! In college, I actually worked at a place where we created and delivered gift baskets. It's so fun! So today...I want to share my best tips with you, on how to create the perfect gift basket for Mom!
Creating the perfect
Mother's Day Basket Tutorial in 10 Easy Steps!
1- Gather the items to go in your basket.
First thing you want to do is to choose and gather the items that you want to include in your basket. I do this first, even before choosing the basket, so that I have an idea of how large of a basket I need to get.
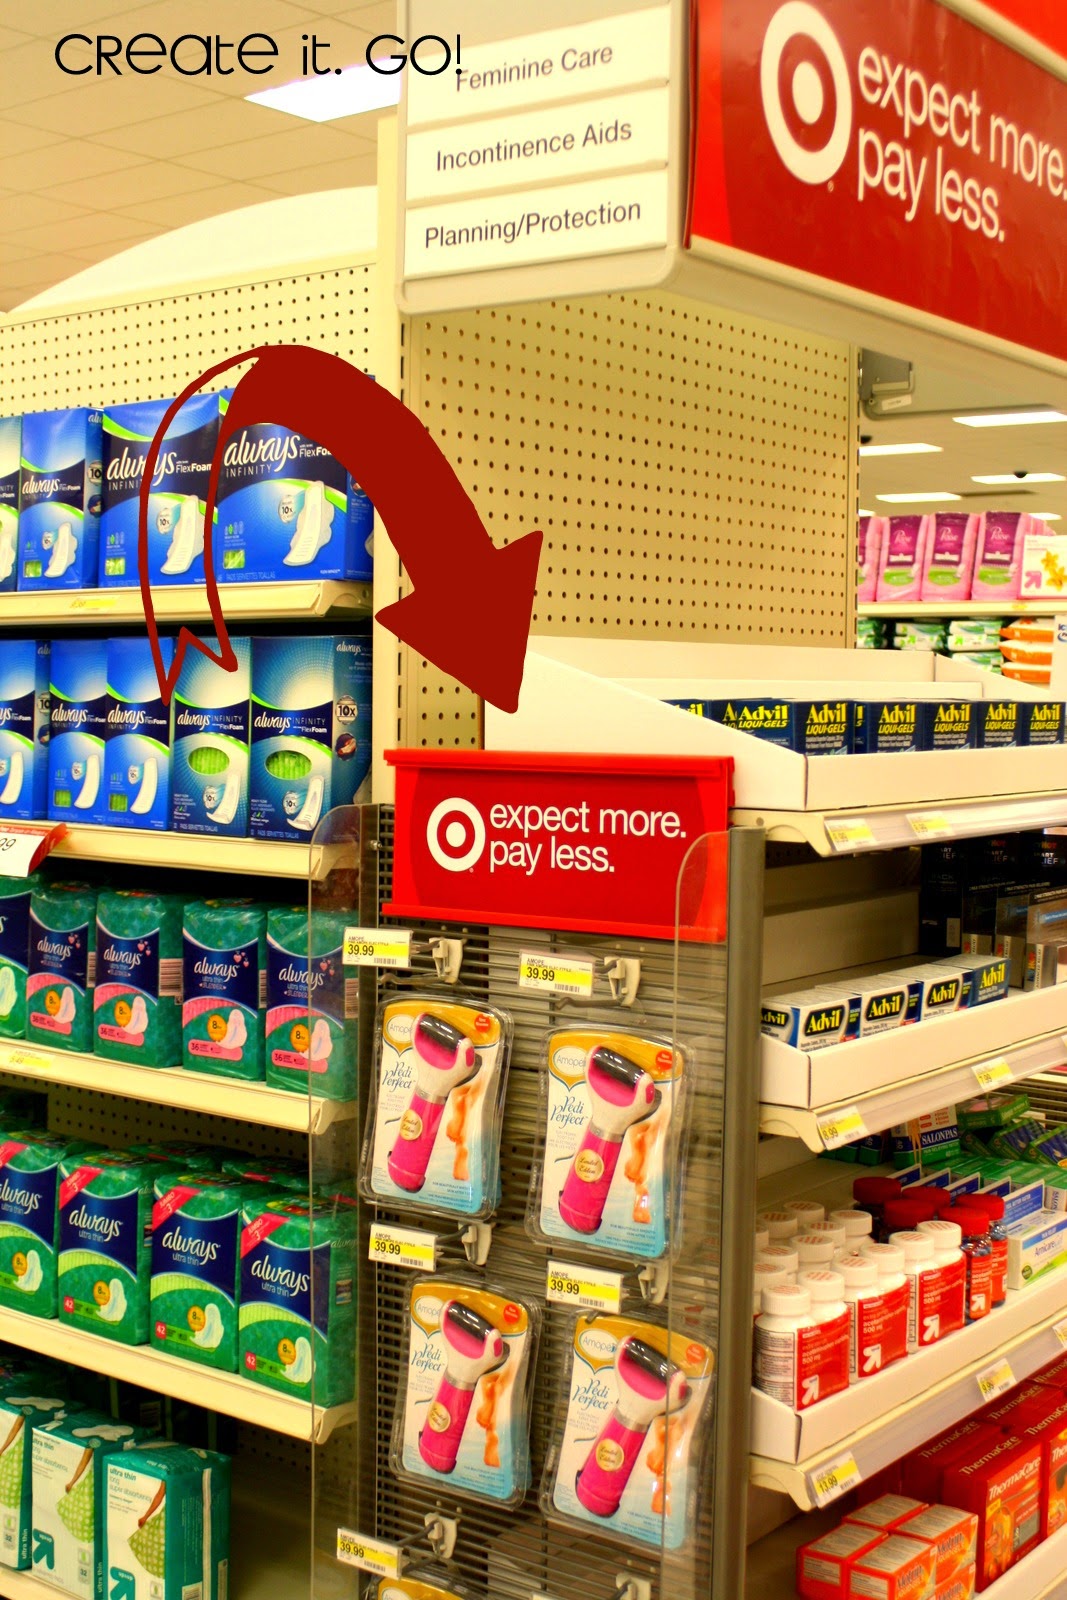
For my basket today, I started with Amopé™ Foot Cream and Pedi Perfect™ Electronic Foot File. (Because I know that ALL of us mothers, would love to be pampered just a wee bit, and would love to put our feet up! Plus, flip flop weather is getting close! haha) I found my Amopé™ products in the footcare aisle at Target for $39.99. And I have to tell you, that I love this little gadget! I have one for myself too and love that it helps my rough heels become the soft and beautiful feet that I want, and almost effortlessly, too! The Amopé™ Pedi Perfect™ Electronic Foot File buffs away hard skin with gentle rotating action and get this! Amopé™ is Portuguese for "Love Your Feet". Perfect for what MY feet need, so I thought it would be perfect to include in this Mother's Day basket, as well.
And here's a little heads up for you, Target Cartwheel has an offer coming up for "buy 1 gadget, get a FREE $5 Target Gift Card. It will run from 5/3-5/9. Perfect time to pick one up for your own mother! (OR YOU! Remember that YOU need to give yourself a break more often! And you might need more chocolate, too! Haha) FYI though...The pink gadget is limited edition and available only while supplies last, but you can also pick up the standard blue gadget if you miss out on the pink.
You can like Amopé™ on Facebook here.
You can like Amopé™ on Facebook here.
Okay, back to the basket and gathering its contents. Other items that I thought to include in my Mother's Day basket were: a good relaxing book to read, chocolate (OF COURSE! or your mom's favorite indulgent treat!), a loofah, nail polish, smelly (as in the good kind of smell! ha!) hand soap, a gift card, a new personalized mug, a new leather journal, a fun Mother's day quote in a frame, a pair of dressed up flip flops, a coupon for a lunch date, a few other goodies. AND...the sound of quiet bottled up just for her! haha
2- Choose your basket
So, after you have collected everything you want to include in your basket, the next thing you need to do is to pick out the actual "basket". Now, I do love beautiful wicker baskets. But I also appreciate the usefulness of other containers. So, sometimes I use an actual wicker basket, and other times I opt for a tub with a lid, or a fun other useful container to create my gift basket with. I even use a cooler sometimes! One thing I do love though, is for the container or the basket to have either a handle or a lid, that I can stand up somewhere in/on the container. It helps to give a little height to the basket, AND it's perfect to use when you need something to attach to some of your gift items.
3- Gather the rest of your supplies and find a clear table/work space.
The next few items you need are: clear cellophane, clear adhesive tape (not the cloudy looking kind, but the crystal clear kind), curly ribbon or string, scissors, some cute little stuffing, and some scrap paper. Clear an area to work on, and you're ready to put it all together!
4- Stuff the bottom of your basket with your scrap paper.
You want to do this so that the items that you include in your basket will be seen in the finished product. If they are sitting low in the basket, you won't be able to see them.
5- Place your cute little stuffing on top of the scrap paper.
This is to make it look prettier and to hide the scrap paper. You want to do this at about the same height as the top of the basket/container rim.
6- Assemble the basket.
Now, choose your tallest item that you have to be included in your basket, and place it in the center. This is where the adhesive tape comes in. Clear adhesive tape is a your friend when it comes to gift baskets. Really and Truly! Tape your tallest item to the lid, or handle, there in the center to keep it in place. If it is sinking too much, stuff more scrap paper below. Then take other items that you have gathered for your basket and start to also place (and tape!) them into place next to and in front of the tallest item (that you placed in the center). You want to go tallest to shortest, from the center out to the sides, and from the center out to the front. This way, everything you have will be seen. If you want to place a few items in the back, that makes it look even better! Another fun little thing to do before you are ready to wrap it all up, is to throw in a couple of decorative little chocolates to fill the little empty spots. They give the basket that perfect finishing touch!
7- Wrap the whole thing in Cellophane
Now, you're ready for the cellophane. Cut a LARGE piece of cellophane. You want it large enough, that you can sit your basket in the center of it, and have both the back and the front pieces of cello, come up to the same length about 6-9 inches above your tallest item or handle in your basket. Then tie those two front and back pieces together with a little curly ribbon or string.
At this point, your sides are still open. Again, clear adhesive tape is your friend. Take those side pieces and pull them together, then fold over and toward the back, and tape in several places along each side.
9- Use more tape!
Haha Seriously though! Yes, use more tape! Now you want to pull the cellophane down all the way around the basket, one area at a time, and tape down UNDER the basket. This just pulls the cellophane tighter and makes it look even better!
10- Deliver!
I love creating gift baskets because you can personalize them and change them up with each person you give them to. They're the perfect gift and everyone enjoys receiving them!
While, my mother lives further away, where I can't always see her as much as I would like, after making this fun Mother's Day basket, I wanted to celebrate some other Mothers that I know. So I decided to host a fun little Mother Daughter Pampering Party for MOM! And let me tell you how fun it was! We had a blast!
As part of the party preparations, I picked up these little white tubs and decorated them up a bit to use for little foot spas for everyone.
We talked and laughed as we were soaking our feet in lovely smelling bath salts. The younger girls were pretty funny to watch and listen to. This little party had been much anticipated for all of us, I think!
After we all soaked our feet and had them smelling lovely,
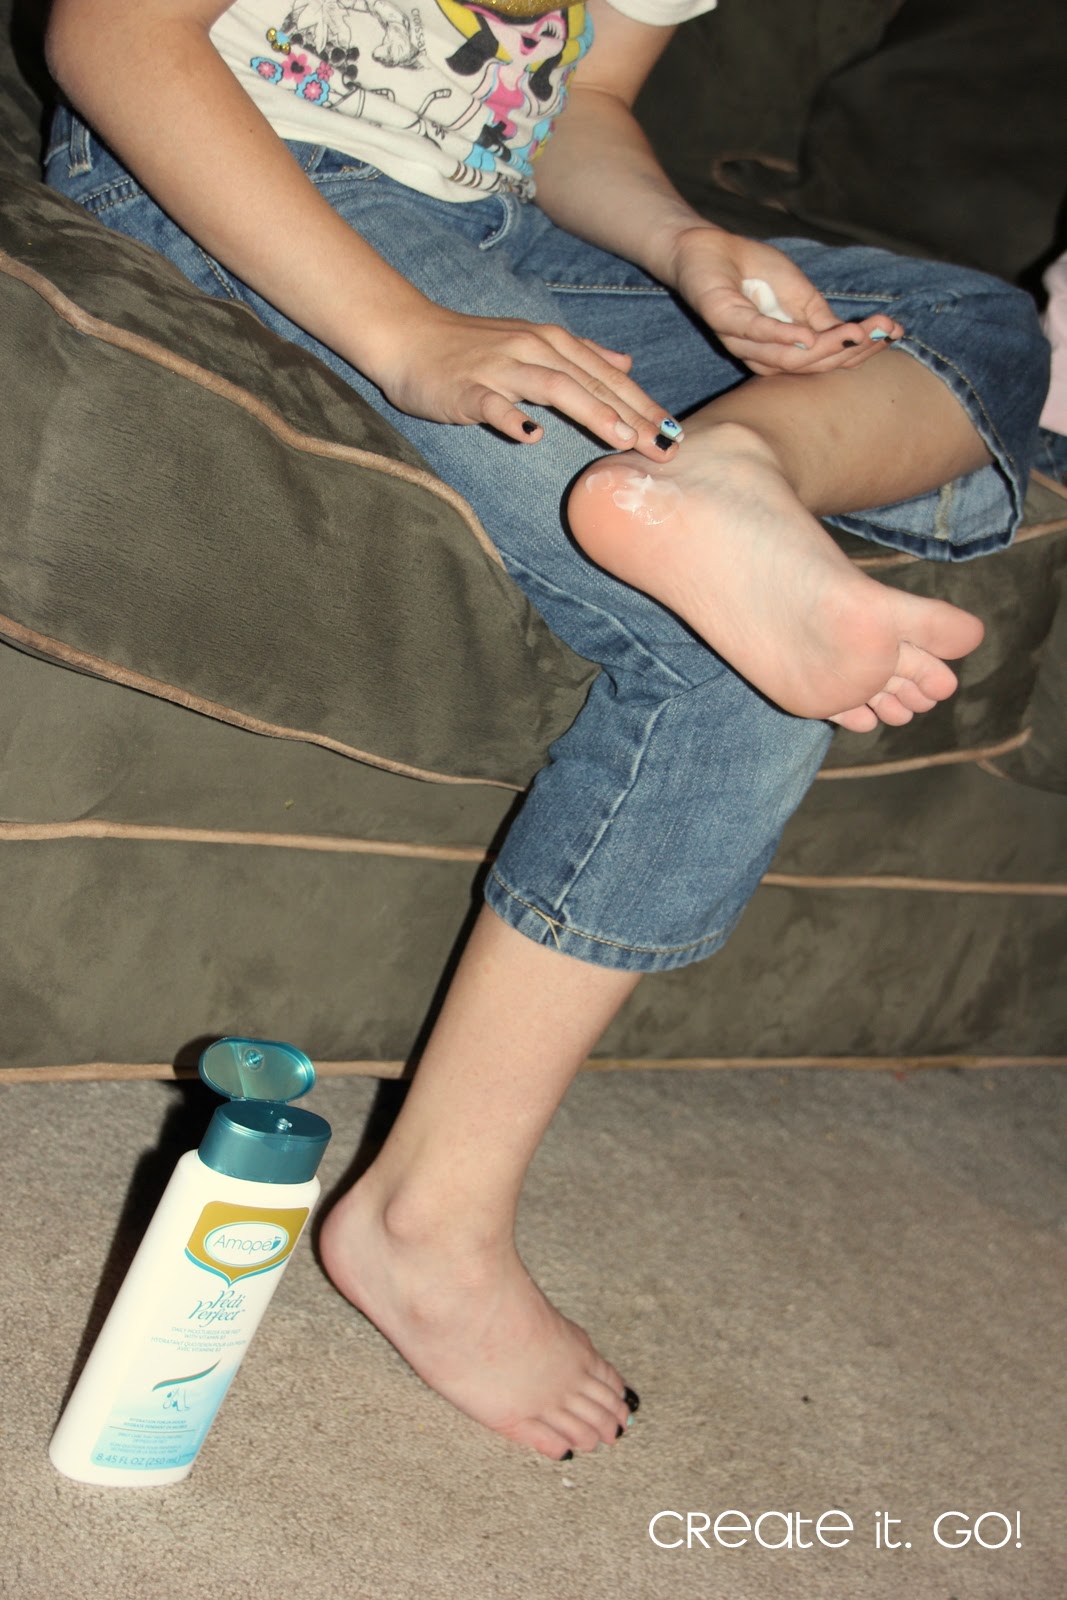
we all got to try out the Amopé™ Foot Cream. AND...some of the lucky ones got to try out the Pedi Perfect™ Electronic Foot File too. I seriously love how smooth it can make my heels feel!
Everyone loved how smooth their feet felt after their pedicures and they were all feeling relaxed and pampered a bit.
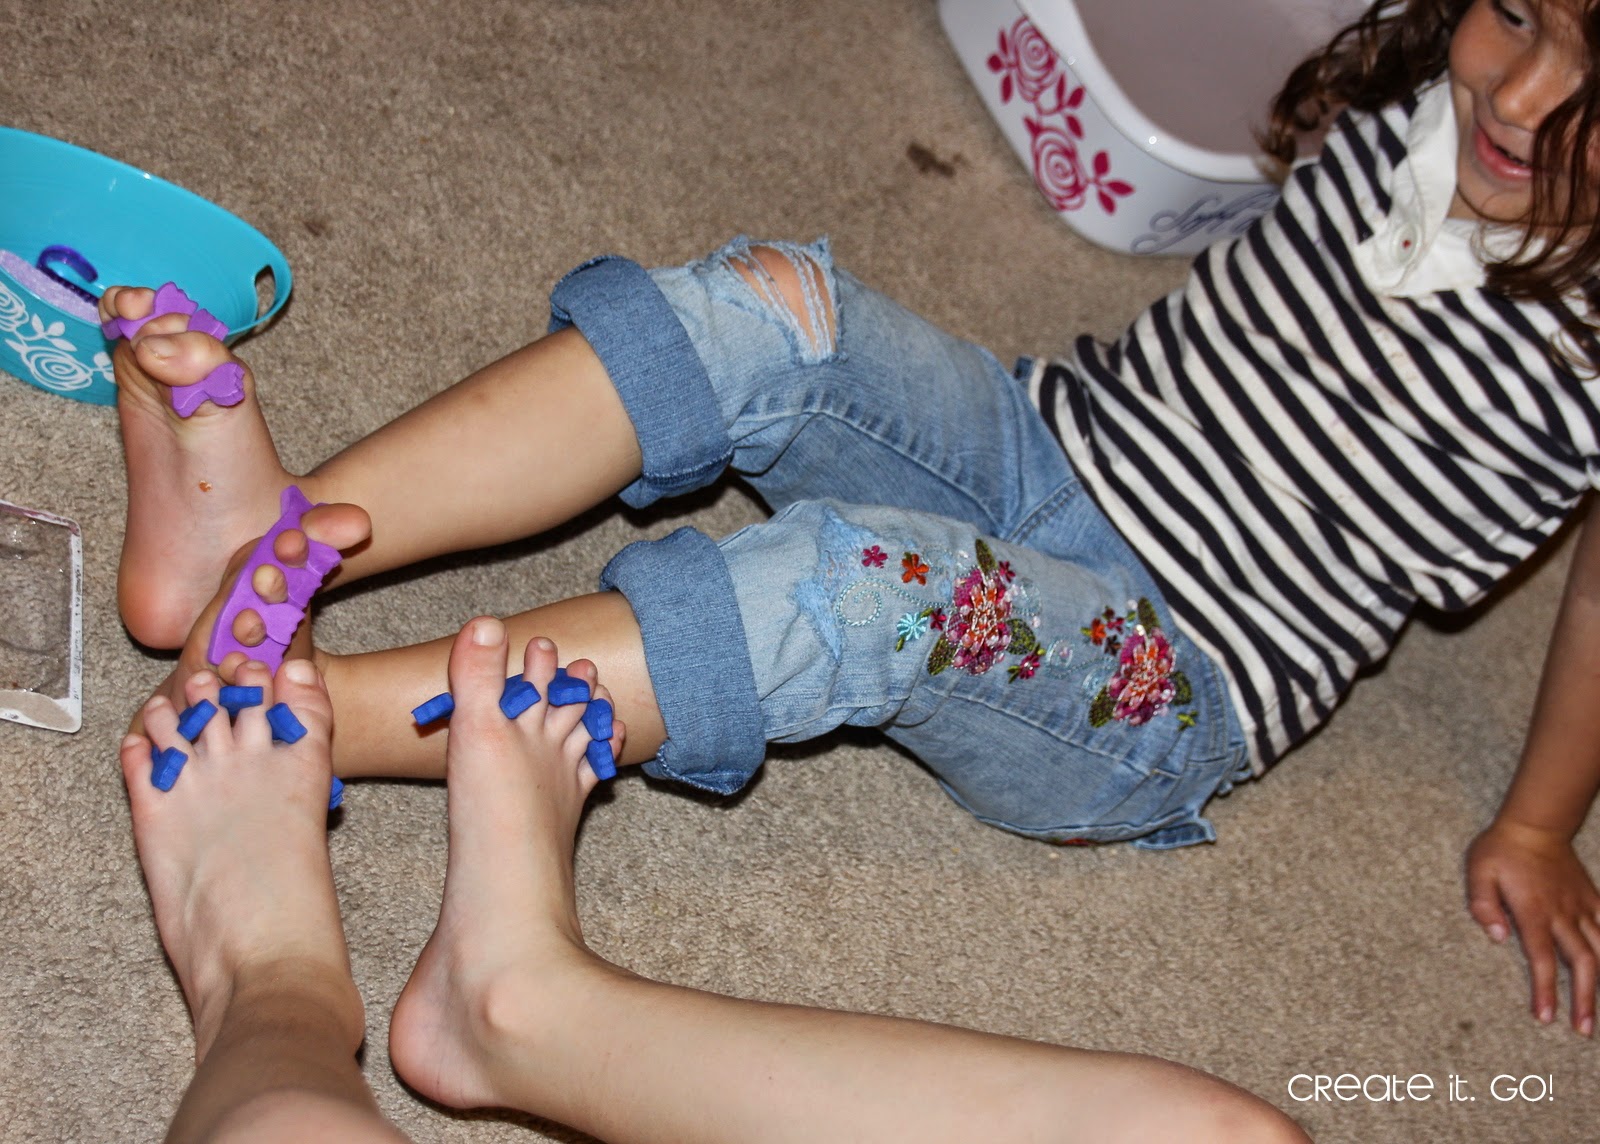
Then all of the girls painted their mothers' toenails too. Haha!
We had lots of good treats, both the good for you kind, and the ones that are just plain yummy!

Then we sat and ate while we all celebrated being a mom and celebrated the mothers in our lives.
We had a rule of no complaining during the party. haha There were lots of smiles and laughter at this party, and everyone even got to fill and take a little gift basket, of their own home with them (which I had the girls each give to their mothers).
We talked about how we all need a little pampering and a little "time out". I was happy to provide that for these women and loved seeing their daughters give back to their mothers. In fact, I think this may even become a tradition each year...to host a party for a group of moms and to celebrate the mothers in our lives. So, now I'd love to hear from you! Tell me...What is your favorite way to be pampered? What do you do to show YOUR mother that you love her? I am so thankful for my mother, and to be a mother myself. Mothers truly do make the world more soft and beautiful!












4 comments:
The basket tutorial totally takes me back to when we worked at Popabilities! ;) Good times! I loved your party. We had so much fun!
love it all!!!
I still have a hard time though wanting to paint my toenails.
What a fun idea for a party. I've done a spa party for kids before, but we didn't involve the moms. I bet this would be even more fun! #client
Thanks for your post. I’ve been thinking about writing a very comparable post over the last couple of weeks, I’ll probably keep it short and sweet and link to this instead if thats cool. Thanks. modern bouquet singapore
Post a Comment